What to Expect on Aircon Installation Day in Singapore
Step-by-step aircon installation day guide for Singapore homes: site survey, preparation, install phases, pressure testing, commissioning, and clean-up.
Knowing the full installation workflow before the crew arrives eliminates surprises and helps the day run smoothly. Whether you are replacing old units in a Tampines HDB flat or fitting out a new Punggol BTO, the process follows the same proven sequence of preparation, mounting, testing, and handover.
This guide covers every stage from the site survey through to your first 24 hours with the new system.
Before installation day
Preparation starts well before the actual work begins. Two critical steps happen in advance: the site survey and any required approvals.
Site survey (1-2 weeks before)
Our technician visits your home to assess structural limits and plan exact routing paths. The survey determines the right BTU capacity for each room. A standard HDB master bedroom typically needs a 12,000 BTU unit for comfortable cooling.
The survey covers:
- Room dimensions and layout for accurate BTU sizing
- Existing piping condition for replacements, or new routing paths for fresh installs
- Outdoor unit placement including HDB ledge load limits of 110kg per wall panel
- Electrical capacity at the distribution board
- Wall material since solid concrete requires different masonry tools than drywall
- Ceiling clearance with a minimum 15cm gap required for proper air intake
You receive a written quote specifying models, quantities, and total cost. Nothing relies on verbal agreements.
Approvals (HDB and condo)
- HDB: Most installations need a BCA-trained installer. New wiring requires SP Services Ltd Form CS/5H for testing.
- Condo/MCST: Building management offices typically require a formal work permit application submitted 3-7 days ahead. We provide installer licences and schedules.
- Landed: No approval needed unless the property sits in a URA conservation area.
We do not start drilling until all approvals are confirmed.
The day before
Clear a 1.5-metre radius in front of each installation location. Cover sensitive electronics or furniture to protect from drill dust. If replacing old units, decide where the old equipment will sit before ALBA E-Waste recycling collection. Moving delicate items to another room entirely prevents accidental damage.
Installation day
The process takes three to ten hours depending on configuration. Our team follows a strict sequence of mounting, piping, and testing.
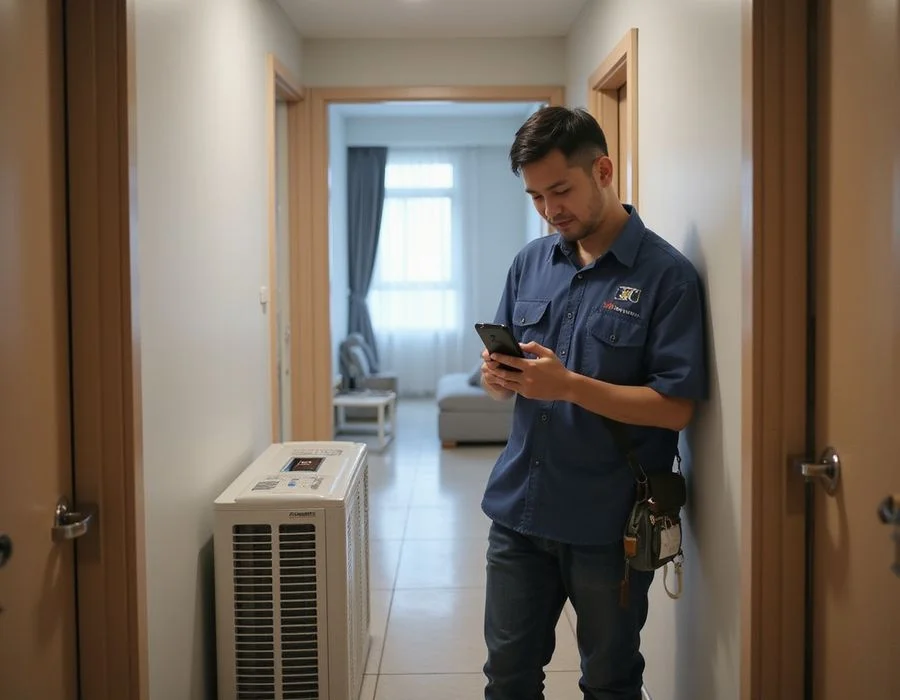
Morning arrival (typically 9am)
Technicians arrive at 9:00am to respect HDB noise regulations. Equipment includes brand-new indoor units in sealed boxes, outdoor compressors, premium copper pipe lengths with thick insulation, professional tools including dustless drills and Fieldpiece manifold gauges, and thick drop cloths for floor protection.
The first 30 minutes focus on preparation. The lead installer walks through positions with you one final time, then lays down protective materials and briefs you on expected noise windows.
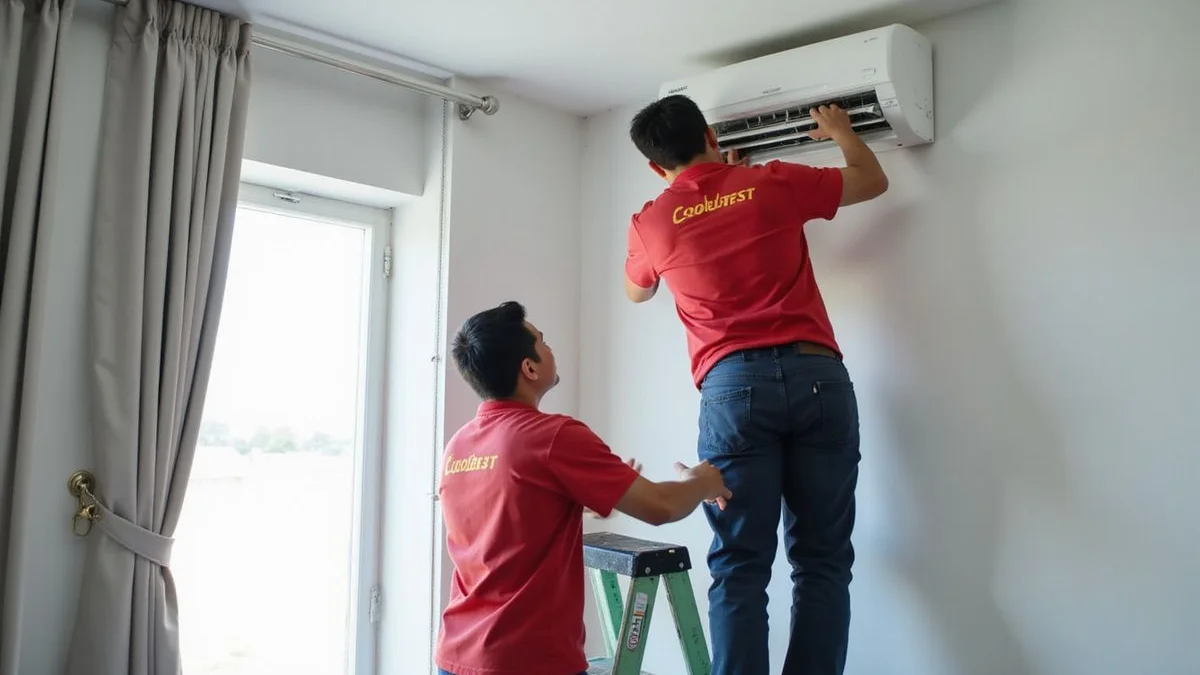
Indoor unit mounting (45-90 min per unit)
- Mark wall position using a laser level while maintaining the 15cm ceiling clearance
- Mount the back bracket with M8 drop-in anchors for concrete walls
- Drill the wall hole at a slight downward angle for the drain pipe
- Route copper pipes, drainage tube, and electrical cable through the wall
- Secure the indoor unit onto the bracket
- Connect copper pipes using flared joints
- Torque connections to manufacturer specification and complete electrical wiring
Outdoor unit installation (30-60 min per unit)
- Mount the outdoor ledge bracket using industrial SS 304 stainless steel fasteners
- Position the compressor on 15mm thick vibration-damping rubber pads
- Route insulated copper pipes to the indoor position
- Connect copper lines to the outdoor unit valves
- Wire the electrical connection from the distribution board
- Torque all flare connections with a calibrated wrench to prevent refrigerant leaks
Pressure test and vacuuming (30-60 min)
This is the most critical phase. Skipping it virtually guarantees future R32 refrigerant leaks.
- Pressurise the system with dry nitrogen above 500 PSI
- Hold pressure for 30 minutes to detect any drop
- Vacuum the circuit down to 500 microns using a two-stage pump
- Hold the vacuum for 15 minutes to confirm no moisture exists inside the system
- Release the factory refrigerant charge into the clean circuit
Any joint that fails the pressure test gets reworked immediately. This eliminates expensive top-ups later.
Commissioning (30-45 min)
- Power up indoor and outdoor units
- Start cooling mode and verify compressor operation
- Measure evaporator temperature delta targeting 8-12 degrees Celsius
- Pour water into the drainage tray to confirm smooth external flow
- Test cooling, fan, and dry modes
- Pair the remote control and test every function
- Configure the WiFi app for smart-home enabled models
Handover
The installer walks you through remote control functions, explains how monthly filter rinsing prevents a 15% energy efficiency drop, and discusses scheduling your first professional service at the six-month mark. You receive the warranty card, installation report, and final invoice.
Typical timeline
| Configuration | On-site time | Multi-day? |
|---|---|---|
| Single-split replacement (existing pipes) | 3 hours | No |
| Single-split new install | 4 hours | No |
| Multi-split 2-indoor | 5-6 hours | No |
| Multi-split 3-indoor | 7-8 hours | Usually single day |
| Multi-split 4-indoor | 9-10 hours | Usually 2 days |
| Multi-split 5-indoor | 10+ hours | 2 days |
Your role during the day
You only need to be present at the start for final position confirmation and at the end for handover. Work from home in another room with headphones during drilling windows. Let us know your meeting schedule in advance so we can pause masonry work during calls.
Clean-up and disposal
For replacements, old indoor and outdoor units go directly into our vehicle for ALBA E-Waste regulated disposal. Technicians remove all old copper pipes and construction waste. For new installations, all cardboard packaging, plastic, and foam leave with us. We vacuum every speck of drill dust before departing. Your home looks exactly as it did before the crew arrived.
After installation
First 24 hours
Run each unit for at least 30 minutes at 24 degrees to confirm target temperatures. Check the external drainage exit for smooth water flow. Listen for any unusual rattling or vibrations. WhatsApp us within 48 hours for a free return visit if anything seems off.
First 6 months
Singapore humidity above 80% accelerates algae growth inside drain pipes. iCare Aircon installations include a complimentary courtesy inspection at month six covering commissioning settings, R32 refrigerant levels, drainage tray cleanliness, and outdoor unit ventilation.
Warranty coverage
- iCare Aircon workmanship warranty: 90 days covering any installation-related faults
- Brand compressor warranty: Major brands like Daikin and Mitsubishi provide 5-year compressor coverage
- Brand parts warranty: Standard 1-year coverage for internal electronic components
Book your installation
WhatsApp iCare Aircon with your flat type, room count, and preferred brand. We will arrange a free, no-obligation site survey. Visit our aircon installation service page for full scope and pricing.
Part of the Aircon Installation guide hub
← Back to the main Aircon Installation pageQuestions Answered
Frequently Asked Questions
How long does aircon installation take in Singapore?
Single-split installation takes 3-4 hours. Multi-split with 3-5 indoor units takes 6-10 hours and may span two days. First-time installations with wall-drilling and fresh copper piping take longer than replacements reusing existing pipes.
Should I clear furniture before the installation crew arrives?
Yes. Clear a working space of about 1.5 metres in front of each indoor unit location, plus a path from the service balcony to the indoor unit. We bring drop cloths and cover nearby furniture, but clearing the floor area speeds up the install significantly.
Can I remain at home during aircon installation?
Yes. We plan around your household so essential rooms stay accessible. Drilling and vacuuming produce brief periods of noise. Most customers work from home or step out during those windows.
 LICENSED
 About the Author
Mr Chong
Founder & Licensed HVAC Technician, iCare Aircon
Mr Chong founded iCare Aircon in Jurong after more than 10 years in Singapore’s HVAC industry. He started as an apprentice technician on HDB rooftops, moved into commercial chiller work, then built iCare Aircon to offer honest, diagnostics-first aircon servicing across Singapore. He holds a BCA-licensed contractor registration, NEA-certified refrigerant handler status, and personally trains every technician on the team. Mr Chong writes these guides to answer the same questions he hears on every job call.
Ready for cool, clean air — today?
Chat with iCare Aircon on WhatsApp for same-day aircon service island-wide.